Transforming your outdoor space can significantly enhance the curb appeal and functionality of your home. One effective way to achieve this transformation is by laying concrete on pavers. This method not only provides a durable surface for patios, walkways, and driveways but also offers a versatile aesthetic that can complement any landscape design. In this blog, we’ll guide you through the process of laying concrete on pavers, ensuring you have all the information needed to create a stunning outdoor area.
Understanding Concrete on Pavers
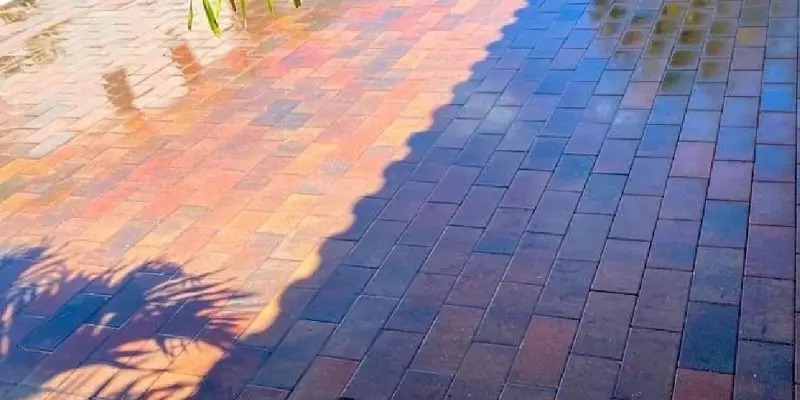
Laying concrete on pavers involves creating a solid, flat surface with pavers and then applying a thin layer of concrete over them. This technique combines the strength of concrete with the visual appeal of pavers, giving you the best of both worlds. It’s an excellent option for homeowners looking to refurbish their outdoor spaces without completely removing existing pavers.
Benefits of Concrete on Pavers
- Durability: The combination of concrete and pavers creates a robust surface that can withstand heavy foot traffic and extreme weather conditions.
- Aesthetics: Concrete can be colored or textured to match your existing outdoor decor, enhancing the overall look of your space.
- Cost-Effectiveness: This method can be more cost-efficient than replacing entire paver areas, especially if the existing pavers are in good condition.
- Flexibility: Suitable for various outdoor applications, including patios, walkways, and driveways.
Step-by-Step Installation Guide
1. Preparation
- Clean the Pavers: Ensure the paver surface is clean and free from debris, weeds, or any loose materials. A power washer can be effective for this step.
- Repair Damages: Fix any broken or uneven pavers to create a smooth surface for the concrete application.
2. Setting Up
- Apply a Binding Agent: Use a bonding adhesive on the pavers to ensure the concrete adheres properly. This step is crucial for the longevity of your project.
- Mix the Concrete: Prepare your concrete mix according to the manufacturer’s instructions. Consider adding a coloring agent if desired.
3. Applying Concrete
- Spread the Concrete: Pour the concrete over the pavers, using a trowel to spread it evenly. Aim for a layer about 1/2 to 1 inch thick.
- Texture as Needed: If you want a textured surface, now is the time to add it. You can use brooms or stamps to create your desired finish.
- Curing: Allow the concrete to cure for the time recommended by the manufacturer, usually at least 24 hours.
4. Finishing Touches
- Seal the Surface: After the concrete has fully cured, apply a sealant. This will protect your new surface from moisture and wear, extending its lifespan.
Maintenance Tips
Maintaining your concrete on pavers surface is straightforward. Regular cleaning with a hose or power washer will keep it looking fresh. Reapply sealant every few years to maintain its protective layer.
Conclusion
Laying concrete on pavers is a practical and stylish way to upgrade your outdoor living spaces. By following this guide, you can ensure a successful project that enhances your home’s aesthetic appeal and functionality. Whether you’re creating a new patio, walkway, or revamping an old driveway, the combination of concrete and pavers offers a durable, versatile, and attractive solution.
Remember, the key to a successful concrete on pavers project lies in thorough preparation, careful application, and regular maintenance. With these steps, you can enjoy a beautiful and long-lasting outdoor surface that enhances the overall value and enjoyment of your home.
Thanks for sharing. I read many of your blog posts, cool, your blog is very good.